How to Show FPS in CS2: Console Commands, Toggle Binds, and Source 2 Performance Fixes
In Counter-Strike 2, frames per second (FPS) directly dictate your competitive success. The Source 2 engine delivers stunning visuals, but it also demands much more from your PC hardware compared to older versions of the game. Low frame rates or sudden stuttering can easily ruin your crosshair tracking and cost you critical rounds.
To keep your gameplay smooth, you need to know how to monitor your system performance in real time. In this expert guide, we will break down the most effective ways to display your frame rate in CS2, set up efficient custom key binds, and apply advanced settings to stabilize your counter.
The Best Methods to Display FPS in Counter-Strike 2
Since the transition to the modern Source 2 engine, the iconic CS:GO net_graph command is no longer available. However, developers have provided alternative tools to track your system stability.
Method 1: The Built-In Developer Console
Using native developer commands is the most reliable way to monitor performance without wasting precious CPU resources on third-party software backgrounds.
- Launch CS2, open the Settings menu, and select the Game tab.
- Find Enable Developer Console (~) and toggle it to Yes.
- Press the ~ (tilde) key during a match or in the main menu to open the command line.
- Input one of the telemetry commands detailed below.
Depending on how much hardware data you want to see on your screen, choose your preferred command option:
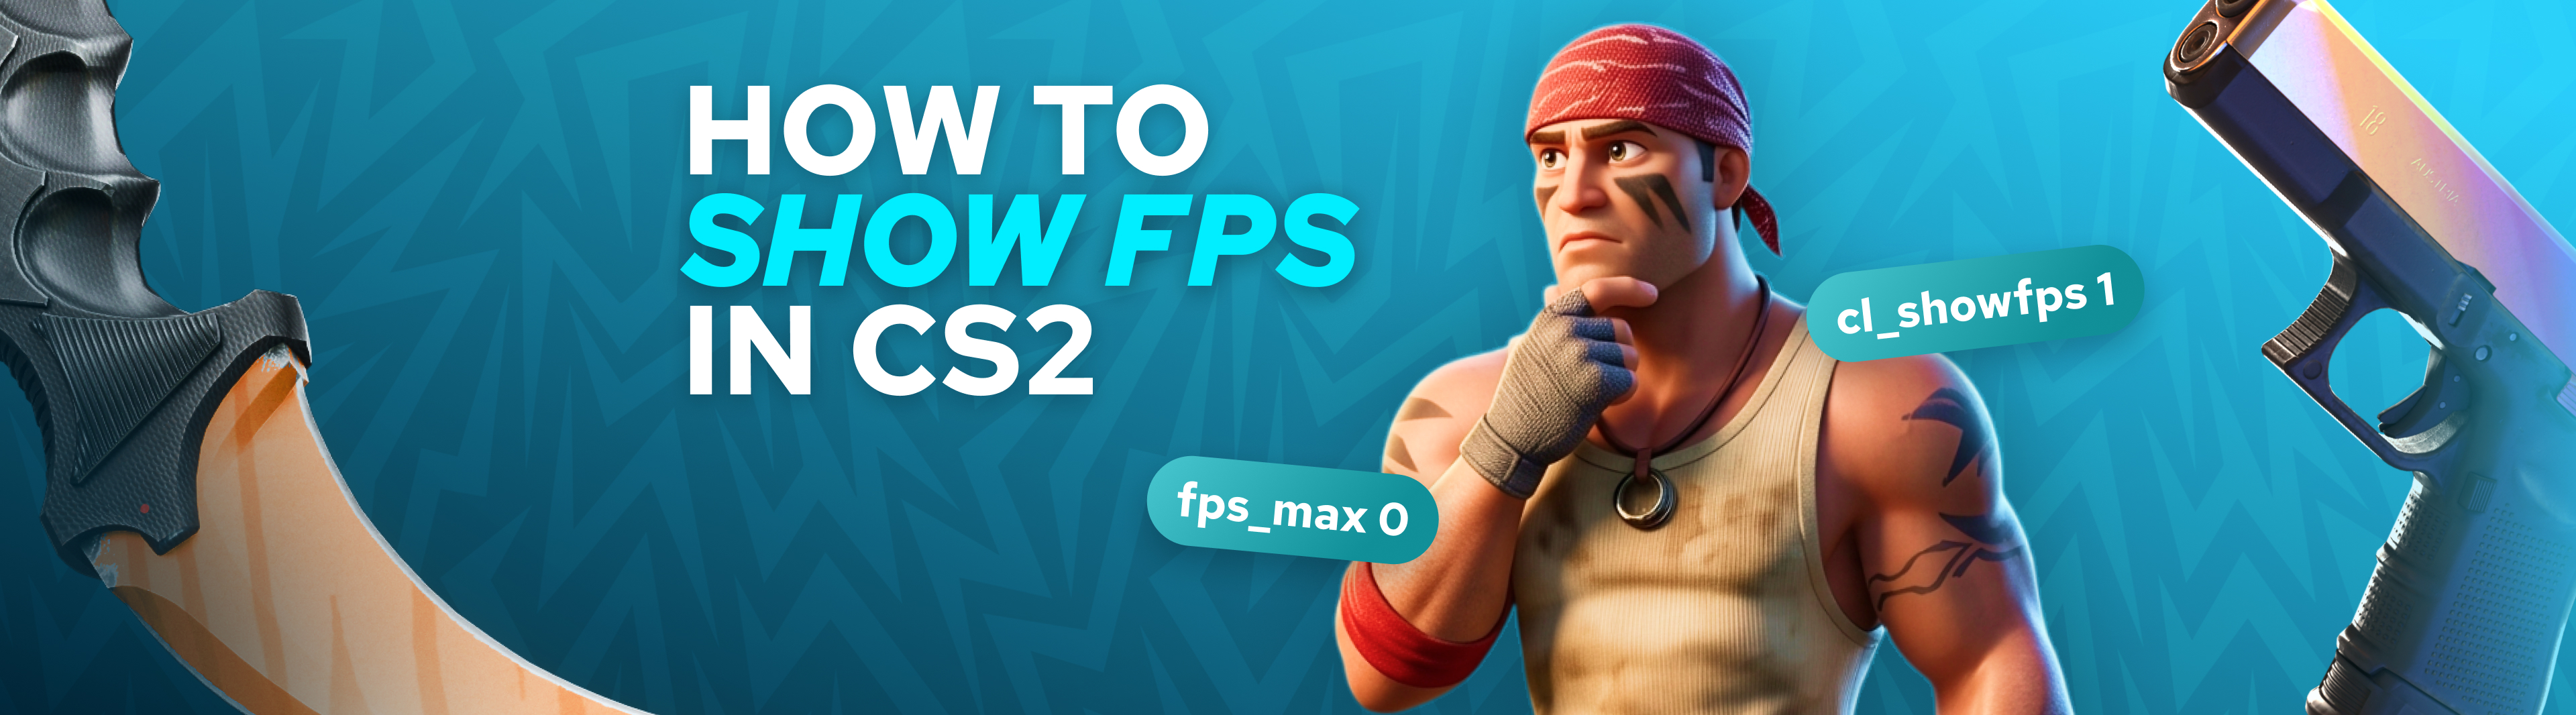
- cl_showfps 1 - Activates a lightweight, real-time FPS counter in the top-left corner of your display.
- cl_showfps 2 - Displays an advanced telemetry overlay showing detailed frame rendering times, which is perfect for diagnosing sudden hardware bottlenecks.
- cl_showfps 0 - Instantly removes all performance indicators from your screen.
Pro Tip: If your tilde key is unresponsive, you can force the console to open upon game launch. Right-click CS2 in your Steam Library, select Properties, find the Launch Options field at the bottom of the General tab, and type -console.
Method 2: The Universal Steam HUD Counter
If you prefer a clean, minimal look that functions across your entire gaming library without accessing the in-game console, use the native Steam overlay feature.
- Navigate to your Steam Desktop Client.
- Click Steam in the upper-left menu and open Settings.
- Select the In Game category.
- Locate the In-game FPS Counter setting and select your preferred corner positioning.
- Launch your game to see a subtle frame counter running in the selected area.
While this method is incredibly simple, keep in mind that the Steam overlay only reads raw frame rates. It cannot provide crucial CS2-specific data like server sub-tick feedback, network packet loss, or precise frame spikes.
Method 3: NVIDIA and AMD Hardware Software Overlays
For competitive players who want a single dashboard to track both game performance and hardware health, graphics card companion apps offer the ideal solution.
Using the NVIDIA App Dashboard:
- Open your NVIDIA App or GeForce Experience panel.
- Enter the Settings menu and ensure the In-Game Overlay feature is switched on.
- Use the Alt+Z shortcut while playing to open the control interface.
- Head into the HUD Layout settings and choose the Performance tab to pin your frame rate to the screen.
Using AMD Adrenalin Software:
- Use the Alt+R or Alt+Z hotkey configuration to trigger the Radeon control center.
- Click over to the Performance section.
- Toggle the FPS metric under the tracking options.
- Customize the size, visibility, and placement of the overlay so it does not distract you from your crosshair.
Advanced Scripting: How to Create a Custom FPS Toggle Bind
Typing commands into the developer console every single time you play can be tedious. Instead, you can script a custom key bind that lets you show or hide the performance monitor with a single keystroke.
For a classic dual-key layout, paste these two lines into your console separately:
- bind "F1" "cl_showfps 1"
- bind "F2" "cl_showfps 0"
If you want a modern, single-button solution that toggles the frame counter back and forth, apply this specific script line:
- bind "F1" "toggle cl_showfps 0 1"
How to save your setup permanently: To prevent CS2 from resetting your custom key configurations every time you relaunch the game, save these lines directly into your custom script file named autoexec.cfg. You can find this file inside your local directory at:
...\Counter-Strike Global Offensive\game\csgo\cfg\

Critical CS2 Performance Commands for Stability
Optimizing your console variables can help eliminate micro-stutters and reduce input delay. Test these competitive commands to see what works best for your hardware configuration:
| Console Command | Practical Description | Expected Performance Benefit |
|---|---|---|
| fps_max 0 | Removes all engine frame restrictions | Unlocks the highest frame rates your components can handle |
| fps_max 240 | Restricts your engine output to a set number | Matches your display refresh rate to eliminate frame variance |
| cl_disable_ragdolls 1 | Shuts down physical modeling for eliminated players | Optimizes CPU execution cycles during chaotic bombsite takes |
| r_drawparticles 0 | Decreases complex asset rendering loads | Prevents massive frame drops when navigating close to smoke utility |
| mat_queue_mode 2 | Forces the engine to utilize multi-threaded queueing | Maximizes hardware utilization on modern multi-core processors |
Understanding Why High Frame Rates Rule Tactical Shooters
In a highly competitive environment like CS2 matchmaking, frame rates are not just about visual appeal - they directly impact your hit registration.
- Lowered Input Latency: Higher frame rates reduce the physical millisecond delay between moving your mouse and seeing your crosshair respond on screen.
- Superior Peek Advantage: A higher refresh output lets you see an enemy player peeking around a corner fractions of a second earlier, giving you an elite reaction advantage.
- Smoother Recoil Compensation: When your frame delivery remains perfectly consistent, dragging down your rifle's spray pattern feels significantly more intuitive and reliable.
Target Performance Benchmarks by Display Type
To get the most value out of your gaming hardware, your average in-game frame output should comfortably exceed your monitor’s native refresh capabilities.
- 60Hz Office Monitors: Aim for 120+ FPS to offset basic hardware input latency.
- 144Hz Entry Competitive Displays: Maintain at least 200+ FPS to ensure smooth asset rendering during execute strategies.
- 240Hz High-Tier Gaming Monitors: Strive for 300+ FPS to experience flawless tracking.
- 360Hz+ Elite Professional Panels: Push your build to 400+ FPS to match the strict hardware demands used in top-tier tournaments.
Pro-Grade Tips to Safely Boost Your CS2 Frame Rate
Adjusting Critical Video Settings
Maxing out your graphics settings looks great, but it puts an immense tax on your system resources. Use these competitive video values to instantly reclaim lost frames:
- Global Shadow Quality [Set to Low]: Shadows are incredibly demanding on your GPU. Keeping this low frees up system overhead while still letting you spot player shadows around corners.
- Shader Detail [Set to Low]: This reduces the processing stress caused by realistic lighting reflections on weapon skins and map textures.
- Advanced Anti-Aliasing [Set to MSAA 2x]: Completely disabling anti-aliasing can make edges look pixelated, making it harder to spot distant targets. Setting this to MSAA 2x cleans up the picture with almost no performance loss.
- Boost Player Contrast [Set to Enabled]: This vital option does not affect your frame times, but it applies a subtle glow to player character models so you can react faster in low-light environments.
Optimizing Your PC Environment
- Lock in Exclusive Fullscreen: Never run competitive shooters in Windowed or Borderless modes. Exclusive Fullscreen forces your Windows operating system to give CS2 total priority over your graphics hardware.
- Prioritize Solid-State Storage (SSD): Running CS2 on an old mechanical hard drive can cause severe micro-stutters whenever the game engine attempts to load new environmental assets mid-round. Always install your game on a modern SSD.
- Clean Up Background Processing: Modern web browsers and communication apps consume large amounts of system memory. Close unnecessary background applications before launching your matches to ensure your CPU can dedicate all its processing power to the game.